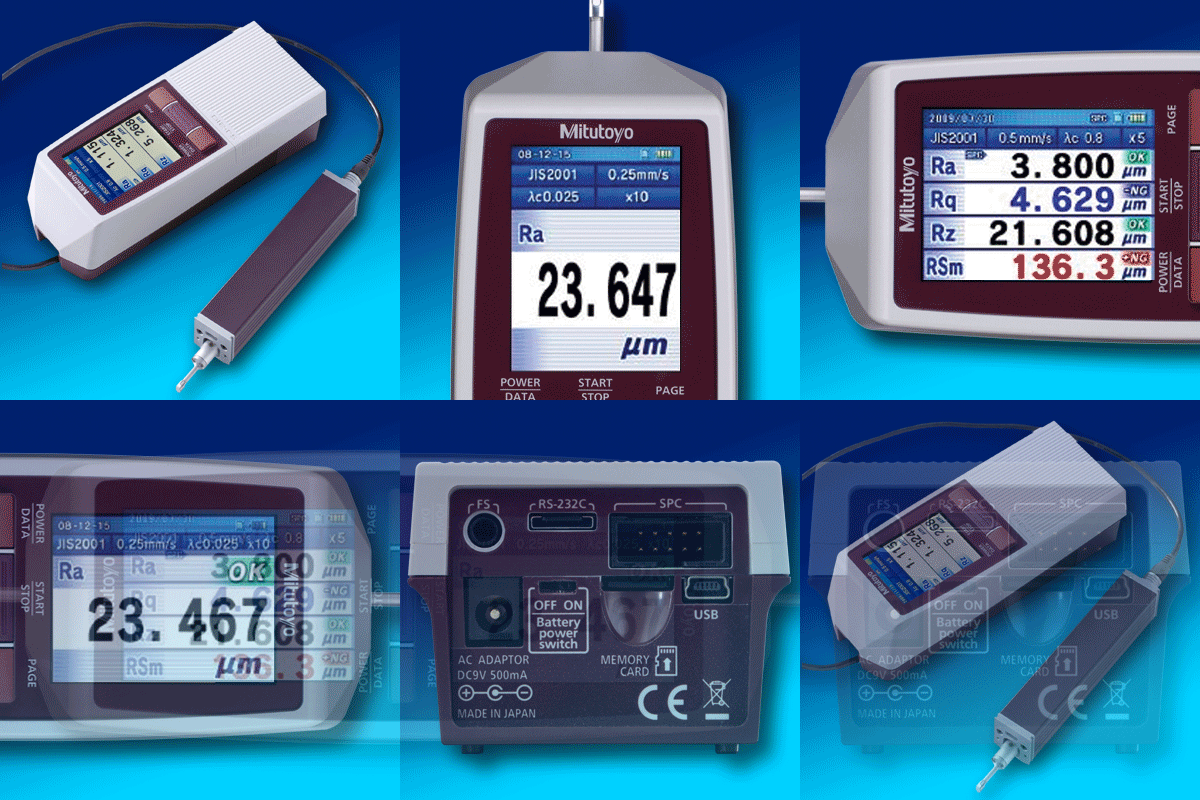
Roughness Inspection
Surface roughness indicates the state of a machined surface.
For example, when representing the surface of a component, surface roughness can be examined by eye or rubbed with a fingertip. Expressions used to describe surface roughness include "shiny and pretty," "lusterless and rough," "like oxidized silver," or "like a mirror." Those differences are caused by the differences in the irregularities of the component surfaces.
When a surface's level of shininess or asperity is clearly quantified, it is called surface roughness, which plays an important role in defining the character of a surface. The surface irregularities of a component or material may be intentionally created by machining, but they can also be created by a wide range of factors such as tool wobbling caused by motor vibration during machining, the quality of the tool edge, and the nature of the machined material. The form and size of irregularities vary, and are superimposed in multiple layers, so differences in those irregularities impact the quality and functions of the surface. The results of these irregularities can control the performance of the end product in aspects such as friction, durability, operating noise, energy consumption, and air-tightness. If the products in question are printing paper or exterior panels, aspects of quality such as glossiness and adhesion of paint and ink can also be affected by surface roughness.
What are the methods for measuring surface roughness?
Surface roughness measurement methods include linear roughness measurement, which measures a single line on the sample surface, and areal roughness measurement, which measures an area of the surface. Linear roughness measurement has been the norm until now, but expectations for areal roughness measurement, that can see a surface as it really is, has been rising in recent years.
Profile method type (referred to as "linear roughness")
Overview
• The degree of roughness in the surface is measured along an arbitrary straight line
Characteristics
• Compliant with ISO and other national standards
• Long, continuous dimensions can be measured


